Check Out These Pages, Too!

"Possibility and promise greet me each day as I walk out into my garden. My vigor is renewed when I breathe in the earthiness and feel the dirt between my fingers. My garden is a peaceful spot to refresh my soul." Meems


Welcome to my Central Florida Garden Blog where we garden combining Florida natives, Florida-Friendly plants, and tropicals.
Showing posts with label Florida Gardening. Show all posts

Sunday, February 26, 2017

They Say It's Winter

I'm certain all my Florida gardening friends remember that awful winter of 2010 when we experienced an out-of-the-ordinary winter.  If you don't remember, state wide there were several back-to-back below-freezing days/nights. I think we all vowed to give up tropical plants and only replant with cold hardy evergreens after that winter. 

Seven winters later it's hard to remember how we felt when all our pretties turned black and melted away from that unusual spell in 2010. 

This winter has been like spring. More so than last year when we considered that one to be mild.


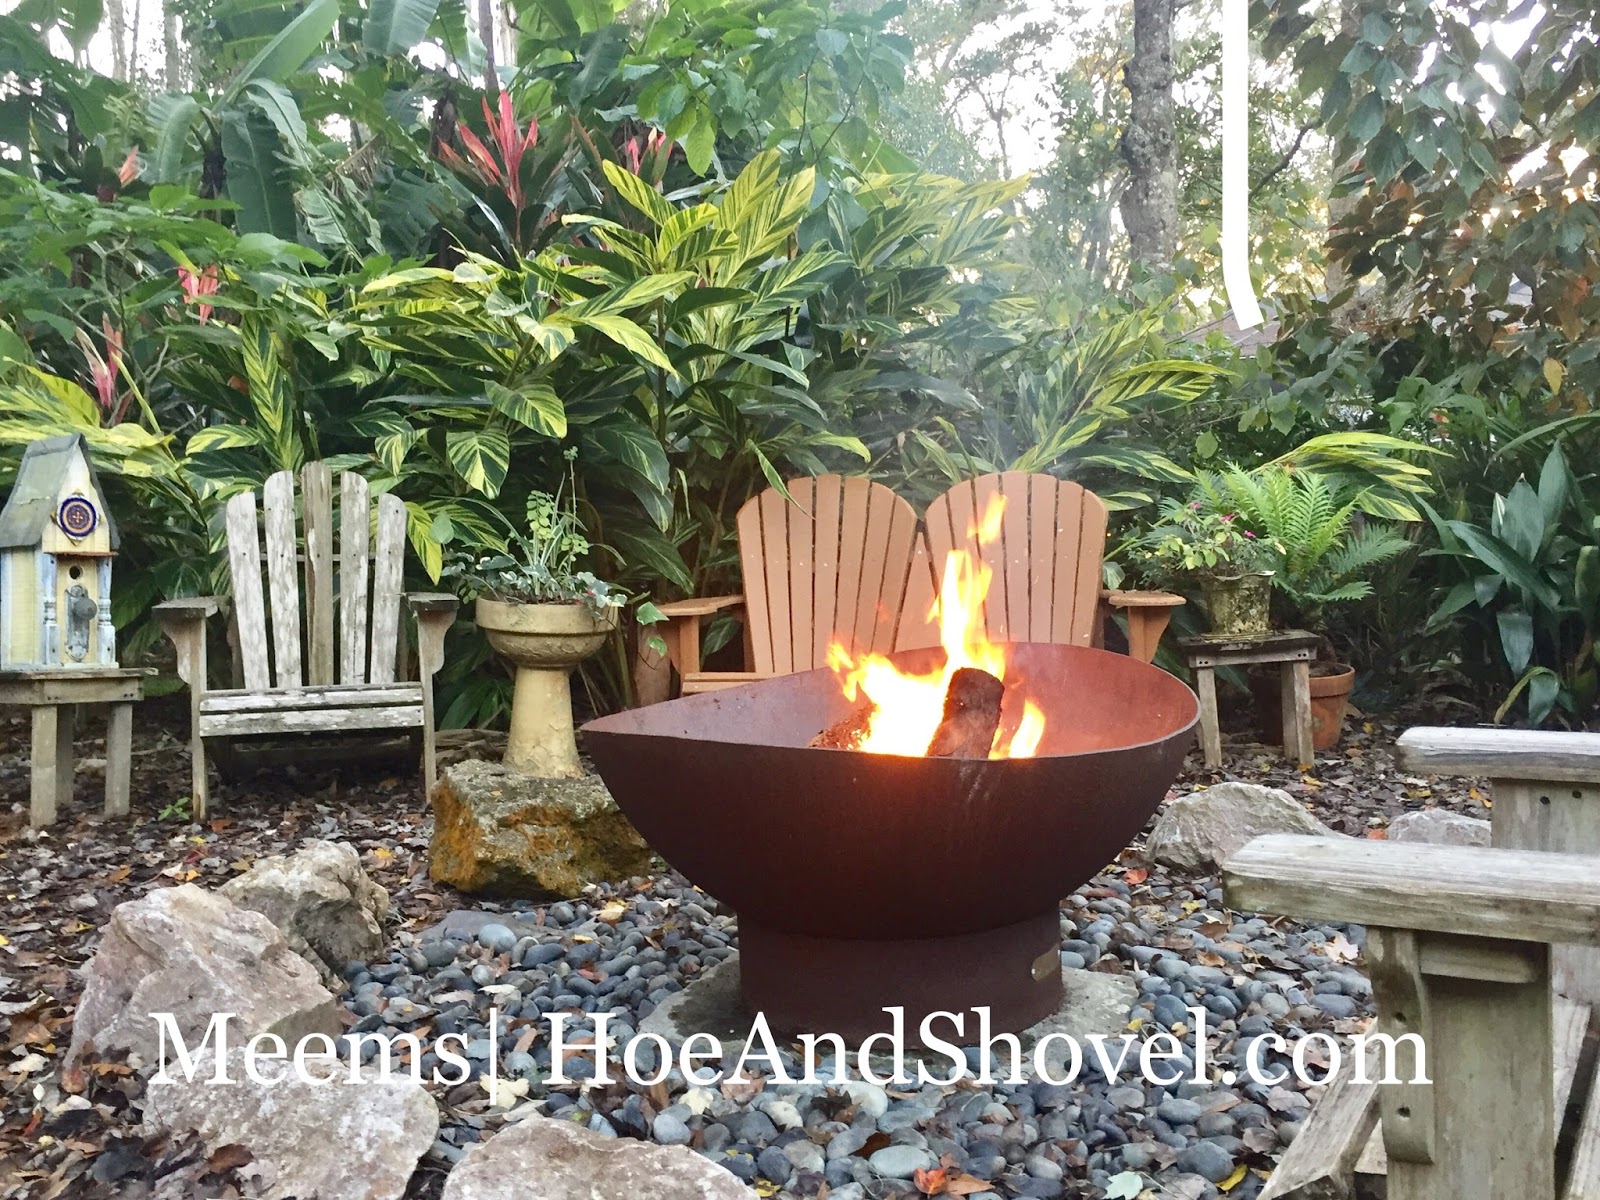
We've been able to have a few fires inside and outside, but not very many nights/days have been cold enough.

Mild mornings and evenings mean we spend a lot of time outside. We eat outdoors often. We prop our feet up and read and drink coffee. It is Central Florida's season to be completely comfortable outside.

Whether it's too cold or just right Florida's winter season is a time for Azaleas and Camellias. This garden has some ancient shrubs of each.  To see them flowering makes the front garden feel like spring.

There are other plants that offer color in Florida's mild winter. Bromeliads love our mild weather. Many varieties color-up just for this time of year.

Begonias mixed with bromeliads add lots of pizzazz along my back walkway.


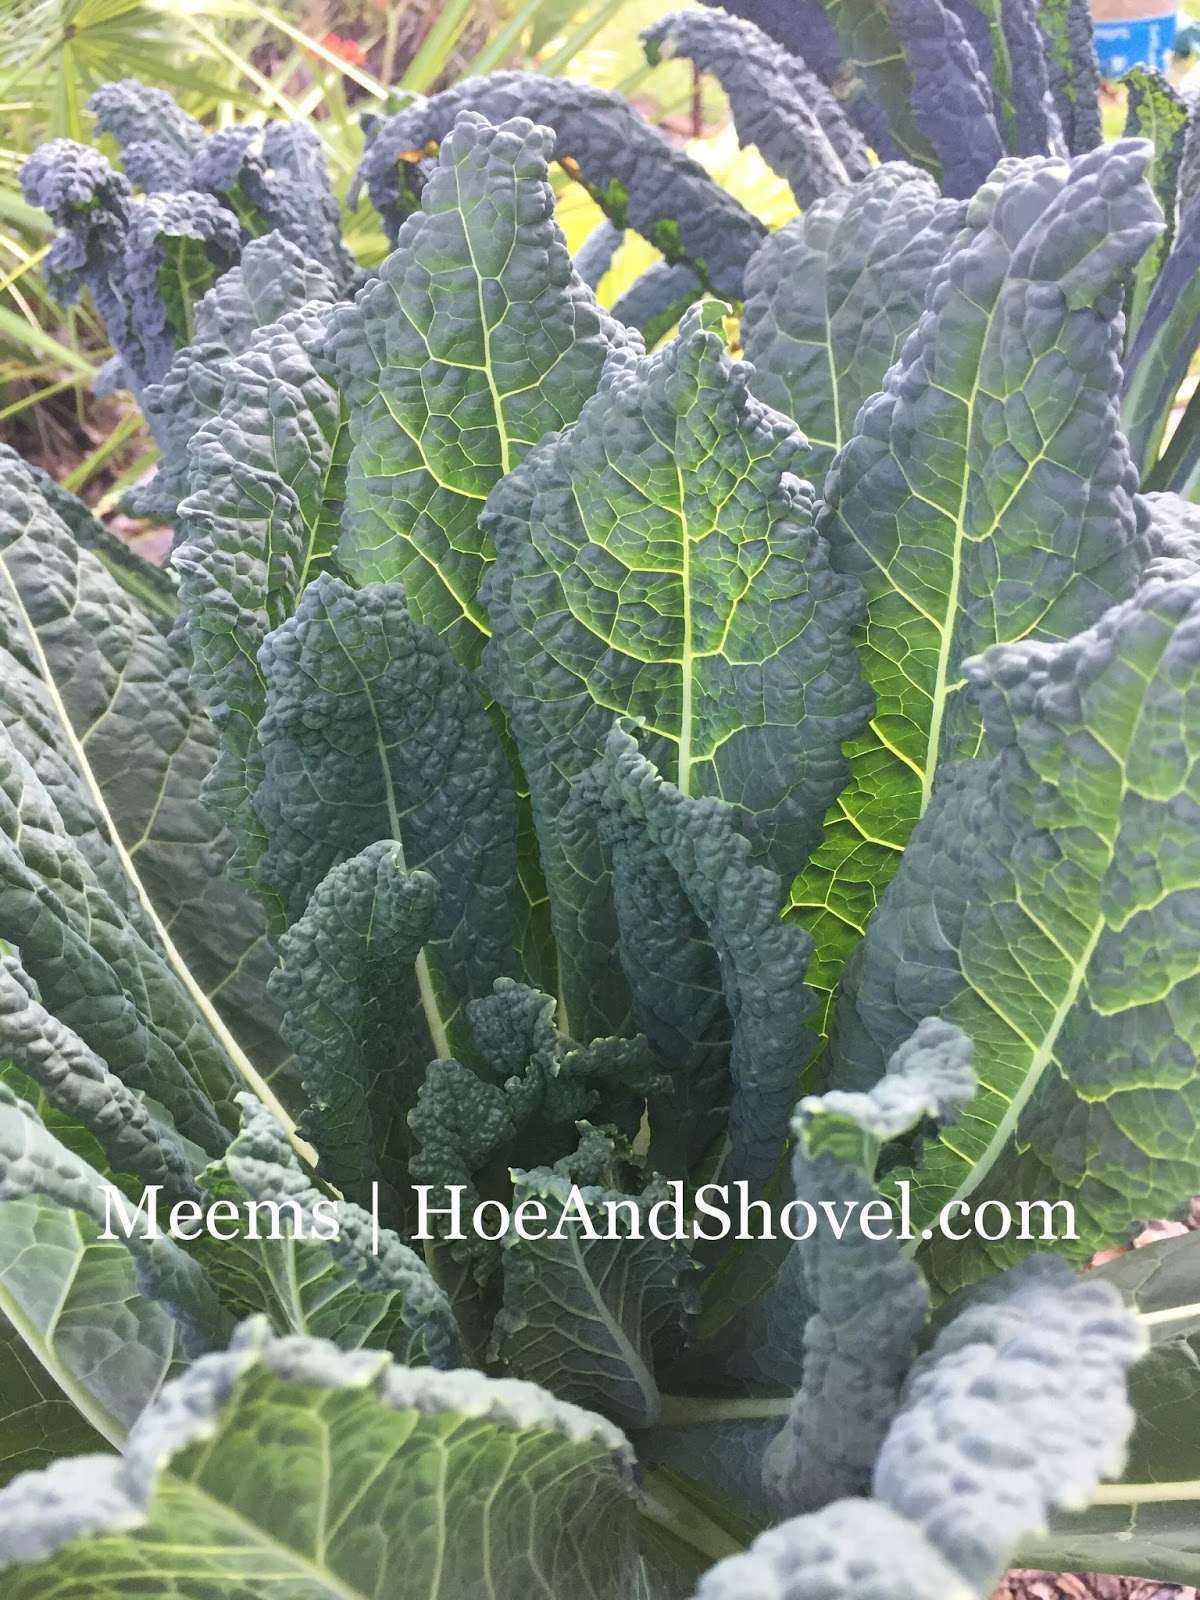
Winter is an excellent time for seasonal veggies. This year I'm only growing some heirloom kale and collard greens. But, oh my, are they yummy.

Even the butterflies think it's mild enough to keep hanging around.

The hardest part about the weather being so mild is trying to resist the temptation to garden like it's spring.  I'm ready to cut every lanky and overgrown shrub back by February 1. It is advisable to wait until the last chance of frost date. I try to comply. Not so much because I think we might have some sudden freeze, but more so because the bushy shrubs protect the plants around them even when those temps drop into the 40's at night.

Truth be told, I haven't done very well adhering to those good practices with this spring-like weather. If all goes well, at least I'll be way ahead when spring does come around. Heck, it might be time to  cut back again by that time.

They say it's winter, but the only clear indicator around here is the calendar. How is your winter going?

Happy Gardening,
Meems


***** I post to my Facebook gardening page almost daily. If you'd like to join us there to keep up with Hoe and Shovel Gardening here's the link: Hoe and Shovel on Facebook or https://www.facebook.com/HoeAndShovelGarden/ if you need to copy and paste. ~~ If you've just arrived to this page as a new gardening friend or perhaps missed the back story about how we moved from our home and garden of 30 years to the house next door you can catch up here. All material (text and photos) © 2007-2017 is authored by Meems for Hoe and Shovel Gardening Blog. Unauthorized reproduction prohibited.

Thursday, April 21, 2016

Quick and Easy Remodel

When you feel like going out on a limb, taking a risk or just having some fun, one quick and easy idea is to add unexpected color to the garden. In my case it's unexpected because I generally lean toward the subtle side when it comes to decor.
Photo from 2012: Black Adirondack chairs on the perimeter of the Circle Garden in my previous garden.
You can see/read more on this article here.

I loved my black Adirondack chairs when I first bought them several years ago.

Photo from 2014: Black Adirondack chairs on the perimeter of the Circle Garden in my previous garden.
You can read/see more on this article here. 

They initially formed a cozy seating area in the Circle Garden at my last house, which happens to be next door. You can read about that here if you are out of the loop on that story. I moved the black Adirondack chairs to my new garden and situated them on the edge of the very first planting bed I carved out of a previously grassy lawn.
Old black chairs this week in my back garden.
Black works very well with the deep cobalt blue-glazed pottery containers and orbs I've placed in strategic groupings in my back garden. The blue bottle trees echo the bright blue which creates a cohesive feeling in this part of the garden.
New Chairs Today
It was time to replace the rotting black chairs and I decided to be risky. At least for me it's going out on a limb because that space is not so subtle with the new color. I purchased aqua this time instead of black. Black blends in with background scenery.  Aqua reaches out to you and says, "hello there, you might want to come have a seat because here I am and you need to notice me."
An Overview of the New Chairs Today 
The vintage motel rockers on the edge of  the pergola are light aqua and many of my clay pots (and some large wash tubs) have been spray painted with Rustoleum lagoon (deep aqua-turquoise) paint. My theme in this space is aqua, lagoon, and cobalt blue. It's important to me to create beauty that flows together in a bright and cheery space yet one that still exudes the natural feeling of Florida. I'll get used to the new chairs. And maybe they'll quit talking to me, luring my eyes to them in time. Needless to say, adding them was a super quick and easy remodel that made a big difference.

Happy gardening friends,
Meems


***** I post to my Facebook gardening page almost daily. If you'd like to join us there to keep up with Hoe and Shovel Gardening here's the link: Hoe and Shovel on Facebook or https://www.facebook.com/HoeAndShovelGarden/ if you need to copy and paste.

 ~~If you've just arrived to this page as a new gardening friend or perhaps missed the back story about how we moved from our home and garden of 30 years to the house next door you can catch up here.

All material (text and photos) © 2007-2016 is authored by Meems for Hoe and Shovel Gardening Blog. Unauthorized reproduction prohibited.

Wednesday, March 23, 2016

Winter Wonderful


You thought I didn't realize it was the first week of spring with my title. Truth is, I admit, I started writing this blog several weeks ago.

It WAS a wonderful winter and I also realize I have been absent from this blog. Not at all absent from gardening. Honestly, could Floridians have asked for a more beautiful winter season?  Winter is probably the time of year I love most. It's so refreshing when the temperatures drop into the 40's at night and the daytime temps rise to high 60's. Dream weather for me.

Although there isn't nearly the maintenance to keep up with in the garden during winter there are still plenty of gardening days to keep a Florida gardener busy. The weather is so inviting with all that beautiful sunshine and less humidity, it makes you want to find ways to be outside,
This year I sprinkled baking soda on some of the winter weeds growing within the lawn and discovered it killed them without killing the grass. It mostly worked on the one pictured and the Oxalis that invades during winter.
FYI: It didn't faze the more difficult weeds like dollar weed. I know. That would have been too good to be true. 

Weeds and more weeds right? Weeds you don't even see during the other seasons. They pop out because it's also their favorite weather. Cool nights, warm days. Rather than let weeds go all winter and collect them all at once when it warms up, I feel so far ahead of the seed heads that can spread the weeds when I'm diligent to pull them along and along. You will love your garden much more when it's time to trim back in spring if you aren't scurrying around also managing winter weed control. It's so much easier to pull weeds when it's cool anyway.


Florida has so many months of hot, sweltering heat that the cooler months inspire me to get in gear on new projects. I wait for a cold winter day to start new planting beds. This year that meant a mid-January weekend. I watched the weather and in anticipation of a day staying in the 50's F (no sweating on that day) I had potting soil and mulch delivered to be ready for my project.
The southwest end of the front garden. It needed a bit of a balancing refresh. The northwest end (next to the driveway) is all plants. I've been thinking since we moved in here that this end needed plants instead of grass.

For over a year I've been mulling over a solution for this corner of the front garden. The grass needed to go, but there are two pine trees that shed badly above this space. If you have pine trees you know how messy they are. Don't get me wrong, I LOVE the needles for mulch. But those same needles get caught in every branch of every shrub and literally layer on top and through the branches of underplantings beneath the trees. It's a catch-22. Love the pine needles to collect for mulch; dislike them hanging in the Azalea shrubs and drowning out the smaller ground covers. In the end I've decided to keep the pine trees and make the best of it.
This photo is taken from the opposite view as the one above. The end of my property line is a couple of feet beyond the cardboard. A strip wide enough for one mower swipe.
First I put a layer of thick cardboard/newspaper over the grass, then a layer of approximately 10-12 inches of potting soil (not top soil which is too heavy), then a layer of 2-3 inches of mulch. This combination will smother/kill the grass in 8-10 weeks (quicker in summer with heat and rain.)
In this photo (taken from the street) it isn't finished, but a good start with perennials and low-lying shrubs.
You know I was chopping at the bit to plant it, but I wanted to make sure the grass and weeds were DEAD before I broke through the cardboard with my shovel. It saves me lots of heartache over the long haul when I wait long enough for the smothering to do its duty.

Making decisions about what to plant in this spot has been interesting. I knew for certain I wanted to add Agapanthus. My elderly neighbor supplies me with an extremely hardy and vigorous variety that we haven't been able to find in garden centers. There is a good number of these beautiful lilies planted at the northwest end opposite of this. It should look pretty great when they all bloom at once. That probably won't happen this year. For some reason Agapanthus like to hold out on me for a good year after being transplanted. I dug up about 20 of them from my neighbor's yard to transplant here and so far they all seem to be adjusting pretty well. I just cut off the leaves that yellow from the shock of dividing the bulbous roots.
This was the best BEFORE photo I could find taken in early January.
From the street you can see the entire corner is entirely lawn. It has a gentle slope toward the street/rocks.
From the street you can see the entire southwest corner of my front yard is entirely lawn. It has a gentle slope toward the street/rocks. You can also see the two 50' pine trees on either side of this space. Again, pine needles make beautiful mulch, messy plants.

Photo taken the first day of spring, 2016,  from the street. See, I really do know it's not still winter in spite of my title.
I'm not quite finished with it because, of course, there will be Caladiums.  So far, Agapanthus, 'Little John' bottlebrush shrubs, Coonties, Dystilium 'Blue Cascade' (a new shrub for Florida/me), Foxtail ferns, Giant Apostle's Iris and bromeliads. Every plant choice is low growing (below 4'), drought tolerant, cold hardy, Florida Friendly or Florida native and they all do well in high-shifting shade. Low maintenance was the primary goal!

Another view of the front garden this week with some of the Azaleas deciding to peak for spring's arrival. We like this patch of lawn that breaks the expanse and gives the eye a rest between gardening beds.


I've removed a lot of grass in this new garden already, but mostly in the back yard. I don't have plans to remove anymore in the front after this. Do you remember my front yard projects from my old garden? There wasn't a blade of grass left in that front yard by the time I took out one section at a time. 

The weather this week in West Central Florida? A surprisingly cool front came through making the beginning of spring feel a bit more like Florida's winter wonderful! I'm loving every minute of it. Happy spring.

Happy gardening,
Meems


* I post to my Facebook gardening page almost daily. If you'd like to join us there to keep up with Hoe and Shovel Gardening here's the link: Hoe and Shovel on Facebook  or if you need to copy and paste https://www.facebook.com/HoeAndShovelGarden/.

*If you've just arrived to this page as a new gardening friend or perhaps missed the back story about how we moved from our home and garden of 30 years to the house next door you can catch up here. 

All material (text and photos) © 2007-2016 is authored by Meems for Hoe and Shovel Gardening Blog. Unauthorized reproduction prohibited.

Wednesday, December 2, 2015

Easy Maintenance Low Bowl Containers


I've been switching out the plants in my low bowls with each change of season. Since they are very visible when we walk into the back garden it's been fun to have seasonal flowering plants in them. They are close to a water source, but even the largest bowls have fairly shallow soil. I've done something super low-maintenance for fall/winter. A mix of succulents and bromeliads mostly. 


I walked around my yard and gathered pups from reliable bromeliads. They don't need an adjustment period. Just poke them into the potting soil and they look like they've been there all along. I left the moss rose, guara, thyme and angelonia from summer and they are doing fine with natural rainfall also.

I rarely have to hand-water the bowls now and it feels like another step to more freedom!

What are your favorite easy maintenance container plants?
Meems


***** I post to my Facebook gardening page almost daily. If you'd like to join us there to keep up with Hoe and Shovel Gardening here's the link:

Hoe and Shovel on Facebook or https://www.facebook.com/HoeAndShovelGarden/ if you need to copy and paste.

 ~~If you've just arrived to this page as a new gardening friend or perhaps missed the back story about how we moved from our home and garden of 30 years to the house next door you can catch up here. 

 All material (text and photos) © 2007-2015 is authored by Meems for Hoe and Shovel Gardening Blog. Unauthorized reproduction prohibited.

Saturday, June 27, 2015

A Year Later

Pinch me. I think I blinked and an entire year has passed.  June marks a year since I've been gardening in my new garden. What a year of gardening it has been!

Grass has diminished, gardens have increased, root cuttings became plants, transplants settled in, divisions have grown, structures have been built, and newly purchased plants continue to find their way to this new garden.
This was the first bit of grass that needed to be removed to make room for plants I couldn't live without from my other garden.
On June 1, 2014 we signed a contract to sell our previous home andgarden of 30 years. Before I could even begin to think about packing the house my mind raced with gardening plans. How was I going to keep my most beloved plants? Plants that loved ones and friends had generously shared with me over the years. How could I make enough space in my new garden quickly to at least start slips and divisions that I knew I couldn't afford to replace? I hired a couple of teenage helper-boys to start digging out grass on June 6, 2014. For the next 5 weeks I was on an Adrenalin high until we officially closed on the deal. The boys (usually one at a time) dug grass and moved the heavy pots and stones and garden furniture while I planted plants, mulched, and started root cuttings. If my amazing mom had not steadfastly urged me to start packing also (and helped me packed - along with so many family members) I'm not sure I would have ever made it inside the house to get our household stuff moved also. I would have been happy to just get the garden moved.


One of the stipulations when we signed the sale contract was that I could take my gardening accessories with me.The birdhouses in the Birdhouse Garden were moved over late June to their new home. You may remember that I had only had them for a year.  This scene remains one of my favorite spots in the garden. 

I picked that spot because it can be viewed from the open back deck and from the inside dining room as well as from so many vantage points in the garden. 


The opposite viewpoint. From the east looking back toward our open deck.
I'm surprisingly content and happy with the way this garden is coming along. Surprised because I cried a thousand tears at the decision to leave my old garden. This garden had some great bones to start with! There are always more projects to finish. Visions dance in my head with new ideas. That's what gardening is all about though. It's a journey. A working garden is never finished.
The Birdhouse Garden is on our south lot line and runs perpendicular to our house.  Our lot line ends about 30' beyond the chairs you see. The large banana trees you see in the background are my south neighbor's. The cypress hammock and water conservation to the south of us keeps our property filled with wildlife and visually adds to the width of our property. 
Thank you ALL for being so encouraging along the way and for following this journey. You have each been a huge source of inspiration every step of the way. Some of you have had to make much harder decisions and it was your stories of leaving your beloved gardens that comforted and consoled me when I couldn't imagine ever loving another garden. All is well. I do love my new garden. God knows me better than I know myself. He gave me the strength I needed when I needed it. 

More before and after photos to come...


****
Come hang out with me and other gardening friends for daily updates from Hoe and Shovel on Facebook... here's the link:

~~~~~~~~~~~~~~~~~~~~~~~~~~~~~~~~~~~~~~~~~
If you've just arrived to this page as a new gardening friend or perhaps missed the back story about how we moved from our home and garden of 30 years to the house next door you can catch up here... http://www.hoeandshovel.com/2014/07/a-new-journey-bitter-and-sweet.html

All material © 2007-2015 by Meems for Hoe and Shovel Gardening Blog. Unauthorized reproduction prohibited.

Wednesday, June 24, 2015

Aggies Light Up Spring/Summer Garden


That's my affectionate name for Agapanthus Orientalis. My love affair with these plants is a long running one. I've sung their praises and extolled their easy-growing characteristics numerous ways on this blog over the years
I put some of them in the back garden also!
As with so many of the plants in my garden, my sweet elderly neighbor gave me my first one. That one plant multiplied on its own rhizome and I divided it and transplanted it. But that was in my old garden. In my new garden there is another similar story to tell. 
The same elderly neighbor who gave me my first Aggie also gave the previous owner/gardener that lived in this house before me her first one. Only the previous owner NEVER divided hers. When I moved in here there was a ginormous clump of them in the front garden. 
Prior to our decision to stay in this home/garden permanently I dug up that gargantuan clump and divided it into about 40 individual plants. In an effort to help beautify the curb appeal here (because we were planning to sell this house). I filled in an empty spot by the street with some of those divisions. They looked downright awful for about 6 months. It was hard to look at those pitiful plants every time I pulled into the driveway.  Gradually they started putting out new leaves and looking like they weren't mad at me anymore for taking them out of their cozy corner. 
Phone photo

Even before the individual flowers open up, those tight buds are adorable. They will keep you in a state of anticipation for weeks prior to their full-blown flowering. From tight buds to open flowers the display lasts a solid 8 weeks. I even let mine go to seed to enjoy the dried heads in late summer/fall.
Phone photo: One Aggie stem mixed with devil's backbone, purple queen, cast iron leaves, bird of paradise leaves and coleus in a tall cut glass vase.

Cut stems make a nice statement in mixed fresh arrangements. I never want to cut too many though. I like them best out in the garden. *smile*.
I just HAD to get out my ruler to see exactly how wide those big flowers are.
The giant umbels of glorious color atop slender stalks rise 4-5 feet above the foliage. Wherever they are growing they create a dramatic flare. 


My excitement over Agapanthus plants intensifies at this thought. In Florida we just don't have many options for this type of showy perennial. 
Full with buds of promise in mid-May.
This cultivar that my neighbor shared with me is unlike any others I've seen elsewhere. The strappy, leathery leaves are thick, shiny, and wide. In the winter the foliage sails through our harshest weather. Gotta love that.

The green stems with purply-blue trumpets at each end are a magical duo.
A tiny pollen-covered bee the same size as the stamen .

Pollinators, butterflies, and hummingbirds are frequent visitors.

I grow mine in partial sun and partial shade. Partial sun means they get morning sun, filtered sun, then full on sun for a brief part of the day. Partial shade means they are never in full on sun, but lots of high filtered sunlight most of the day. I haven't tried fertilizing them although I've read reliable information that suggests they don't mind some extra nutrients. After they bloom their foliage won't look quite as robust as it does while blooming. That isn't really very noticeable except to the most observant onlooker. Overall this plant is a must-have for a Florida garden. It's one of my favorites EVER in case you hadn't already figured that out. 


****
Come hang out with me and other gardening friends for daily updates from Hoe and Shovel on Facebook... here's the link:


~~~~~~~~~~~~~~~~~~~~~~~~~~~~~~~~~~~~~~~~~
If you've just arrived to this page as a new gardening friend or perhaps missed the back story about how we moved from our home and garden of 30 years to the house next door you can catch up here... http://www.hoeandshovel.com/2014/07/a-new-journey-bitter-and-sweet.html

All material © 2007-2015 by Meems for Hoe and Shovel Gardening Blog. Unauthorized reproduction prohibited.

Tuesday, June 16, 2015

The Long Awaited Potting Bench

When it came right down to it, I found myself questioning whether I really needed one. I had lived without one for so many years. Gardening for over 30 years without a potting bench is akin to lacking sufficient counter space in the kitchen. You make do. You improvise. You adjust. And you stay grateful for what you have. Somehow everything turns out for holidays and dinner parties anyway.

The driveway or the back patio or simply a pathway in the shade was my potting place. Squatting or sitting crossed-legged or on an over-turned bucket worked as I bent over pots and plants. That's how I started new seeds, potted up slips for rooting, divided rhizomes. I'm sure you can relate. A potting bench is not an essential for accomplishing a whole lot of successful gardening.
Completed pergola in December before the potting bench was added.
But sometimes a fanciful dream just won't let go. Sometimes the timing is just right. Somewhat like my new pergola. This lovely space is now the multi-purpose central station that it was intended to be for all my cuttings and seedlings and work. And it turned out to also be the perfect spot for my long-awaited potting bench.

As soon as the pergola was completed (last December) I painted a couple of ladders to re-purpose as a temporary shelving unit.  I utilized two different size ladders and painted some boards that fit between the rungs for shelving.

I've decided not to have permanent shelves built. The ladders add a whimsical touch and function just fine. The covered pergola allows me to control the amount of water and sunlight according to the needs of the particular varieties of cuttings and seedlings. It is also a place for all my hopeful new plants to be corralled in one place. This set-up is so much more convenient than trays of grow-pots scattered about and tucked under shrubs and even sometimes forgotten. That's how it seemed to go in my old garden.
I hired a very handy man I trusted to follow my precise directions for building my custom potting bench.  He's done a lot of work for us in this house.
For a while I hesitated to get started on the bench once the pergola was completed in December. I guess I had a fear of 'junking it up' with too much gardening stuff. It is open to the back garden and in full view when you round the corner from the driveway/garage.

After looking at lots of photos and ideas (on Pinterest and Houzz) I came up with a combination of features to fit the space and one that would help me accomplish the tasks I had in mind,


The working top is 8' long, 22" deep and 36" high. It attaches to the back wall of the pergola which is actually the outside wall of the garage. See the slanted side braces? Those keep the entire structure off the ground which actually gives me more room. The bottom shelf is shorter leaving an open end as a parking garage for my garden wagon. It is only 20" deep so I don't knock my shins on it. The 4" wide boards that cover it are placed vertically (opposite of the horizontal 8" boards tightly fitted on top) and have a small space between them for easy cleaning. The shelving above has beadboard in the background and corbels underneath to give it a cozy, homey look and feel.

Somehow I got stuck with the painting job. I used the same color of stain we chose for the pergola. The beadboard is Annie Sloan Chalk Paint (Provence).


Electricity along with an outlet I can easily access and lamps on each post are additional helpful features to make the pergola an even more convenient and usable space.


Ta-Da! The reveal of the completed bench.


The bottom shelf has proven to be very handy. I left a foot of space all the way around the perimeter of the pavers to add rocks. They give me better drainage for watering plants.

Call me the bucket lady. I use lots of buckets while gardening. A bucket for weeds, a bucket for my hand tools, a bucket for soil, a bucket for whatever you need. Buckets are handy. Can't be without buckets.

It was easy to equip this area. I didn't have to purchase anything to make it look cozy. It was a matter of gathering things from around my house.


It's the same thing I do in my home. "Shop the house" I think it's called. Use what you have, re-purpose items, and move things around for a brand new look.

My bench is so convenient. The whole space has worked out so well for meeting my needs. I enjoy puttering in my work area in the cool of the day.

With the potting bench on the back wall it can be used as a side table for food and accessories when we eat outside. We do that a lot. The antique motel chairs are in just the right amount of shade mornings and evenings to enjoy a cup of coffee and a chit chat.

As the sun comes up this part of the garden is my favorite place to be. It's peaceful and relaxing to start my day here. We really enjoy the birds and butterflies and all the buzzing critters that come alive as the new day dawns.

My new garden is turning out to be a great source of strength and inspiration to me. I can hardly believe we have been here a year this month. I couldn't be happier and more contented. The long awaited potting bench is just one more piece in the puzzle.


*********************************************
Come hang out with me and other gardening friends for daily updates from Hoe and Shovel on Facebook... here's the link:
~~~~~~~~~~~~~~~~~~~~~~~~~~~~~~~~~~~~~~~~~
If you've just arrived to this page as a new gardening friend or perhaps missed the back story about how we moved from our home and garden of 30 years to the house next door you can catch up here... http://www.hoeandshovel.com/2014/07/a-new-journey-bitter-and-sweet.html


All material © 2007-2015 by Meems for Hoe and Shovel Gardening Blog. Unauthorized reproduction prohibited.

September 2010

Back Garden: October 2010

Louise Philippe: Antique Rose

Tropical Pathway